Friday, January 30, 2015

DIY - How to make a flower pot from pallets!

Since we live in a flat we have no garden of our own. Not that I am a flower person but I really like having fresh herbs to use in my cooking.

So my dear fiance decided to make me one from pallets. Luckily he took pictures of the process for those of you who want to make one as well!

Take your pallet and if it has more than 3 vertical woods remove them so it looks like in the pic:


Remove the nails from the bottom part:


Using the extra wood parts you will turn them into the bottoms of each shelf. Measure the width, cut it accordingly and nail them to stay in place:


Now to make the base. Take 3 pieces of wood equal length to nail them....


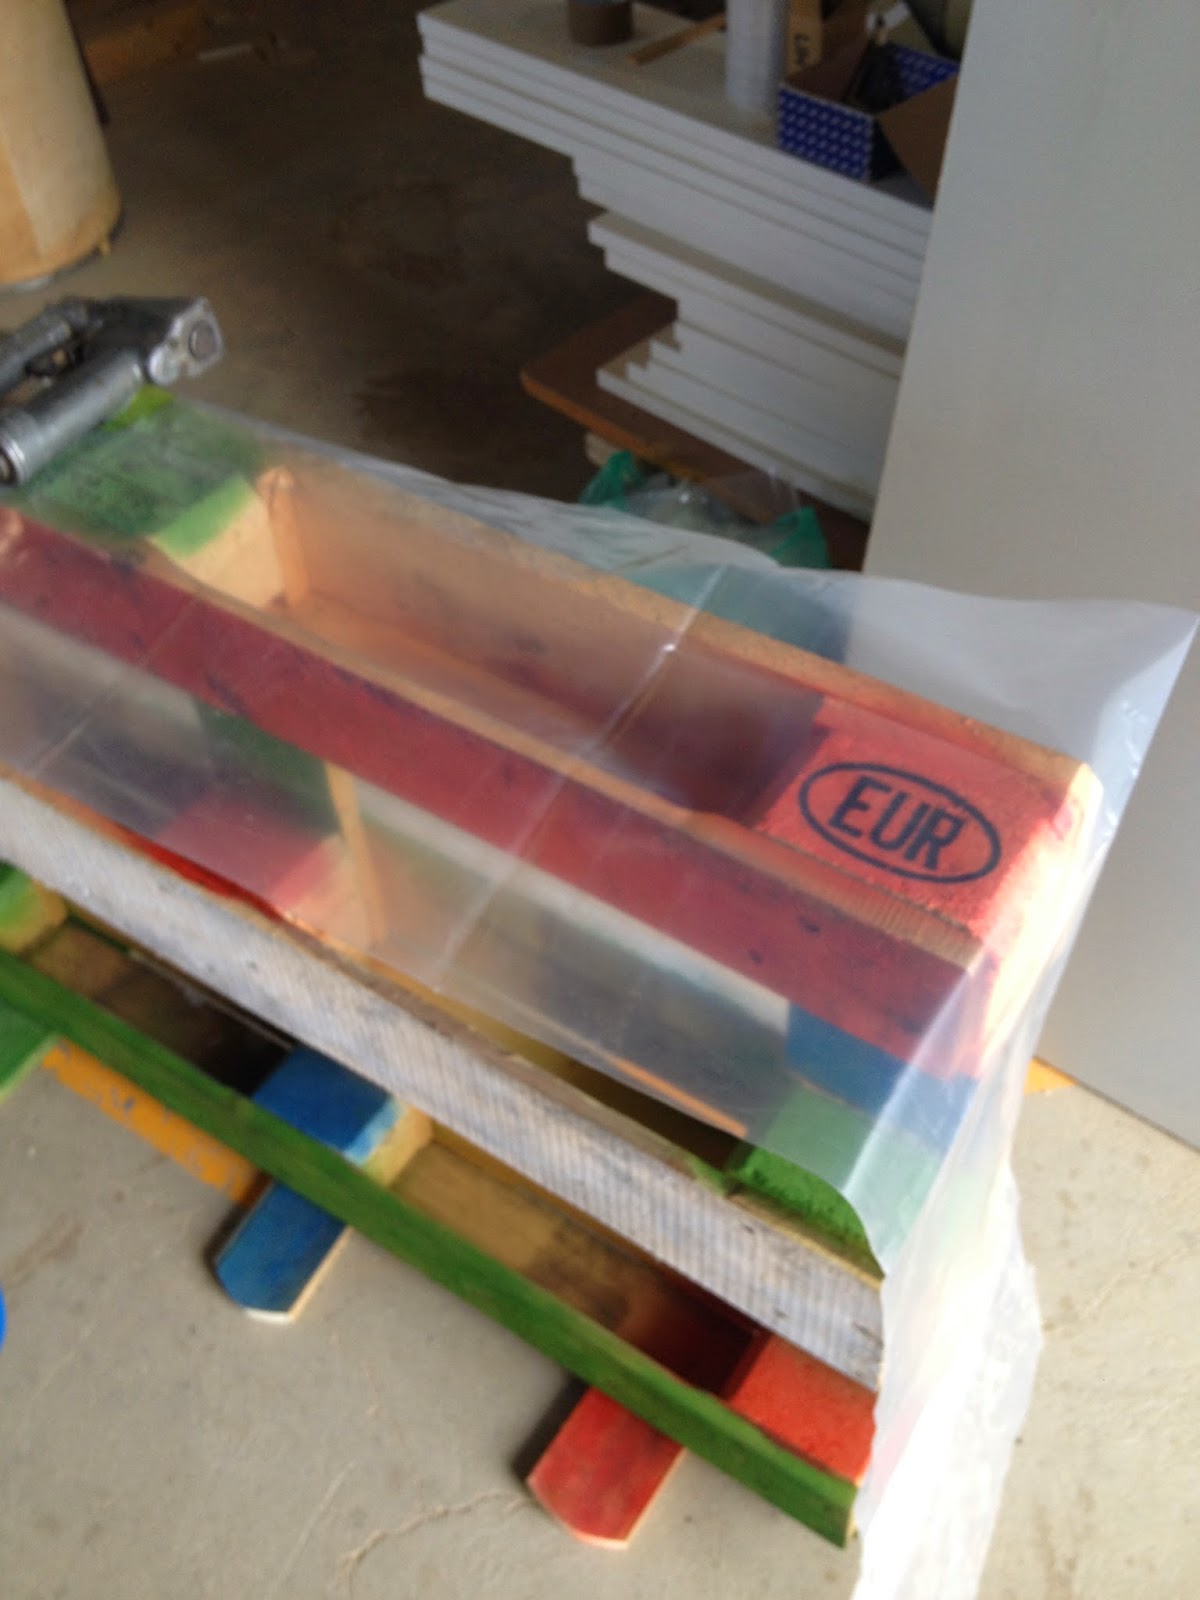
But before you nail them take spray cans and paint it as you like:


And now nail them:


The final and most important step is to make sure that it is waterproof so when you water the plants the water isn't absorbed by the wood. So take some canvas and nail it. Cut the extra:


So far I have parsley, mint, thyme and oregano:


Hope you like it!

Tuesday, January 27, 2015

Dressing table for small rooms

What do you do when there is not enough space? You get creative!

When George and I moved in the apartment I wanted a dressing table in the bedroom. However even though the room is quite big we had to put a king size bed since George takes a lot of space ;) In doing that there was little space for a dressing table so we tried to figure out a solution.

After some thinking and some ideas that we turned down we finally decided to use a wall shelf with a mirror on top. The idea was that the shelf would be at 75 cm height so that I can use it both while I am standing and while I am seated.

Here is the result:


Here is how it is if I wanna sit down and do my hair:


And here is how it is every day (fits my laundry baskets perfectly!)


The shelf is 107 cm long and just 33 cm wide making it ideal for my room since it leaves me space to move.

I was so excited and pleased with the result that when one of my customers whose bedroom was even smaller than mine asked me what to do I already knew the answer! So here is another version of the same idea:


And it even has storage space!


Hope you like it!

Saturday, January 24, 2015

Tips to make washing the dishes easier and faster

Washing the dishes is a much debated job. Some hate it, some just do it because it needs to be done and some (I suspect few of us) find it relaxing. Whatever the case there are steps you can follow to make this job much easier and faster. Here are a few that are part of my daily routine and have helped me immensely:


Step 1.

Keep your sink in order. No matter how small or big it is when the things are in order they are much better to handle than a chaotic situation that will make you feel desperate. Stack the dishes according to their size keeping the larger ones underneath. If there is not much space in the sink leave some items out like the glasses.

Step 2.

Use kitchen paper to remove any leftovers. The paper will take most of them and be thrown in the dustbin with them instead of them making your life harder while trying to wash them down.


Step 3.

Soak them. As soon as the dish/glass/pan gets in the sink pour water on or in it. Water will keep it from drying and thus will be easier to remove whatever the paper couldn't.


Step 4.

Use a good sponge and a concentrated liquid which will last for a long time.

Step 5.

Do them regularly! Don't let them pile up!

These may seem simple and common sense but following them will make washing the dishes look like a game!


Extra tip:

Sometimes when you use a pan to fry it will leave fat residue. And I must admit that I really don't like the idea of me rubbing a pan filled with fat. (gross!) So this is what I do:

Fill your kettle with water and boil it. Put some lemon juice and some dish-washing liquid in the pan and pour over it the boiling water. Let it rest for 10-15 minutes and voila! The fat gathers at the top of the pan so you can pour it down the sink!


Wednesday, January 21, 2015

Chicken fajitas - healthy and light Greek-style!


Chicken is a very easy meat to cook and is also a very healthy one. But depending on what you cook it with you can either make it an ally to your diet or an enemy! So the other night as I was craving for some fajitas I though to myself how can I make them healthier? The answer is the following recipe to which you can add any vegetables of your choice to make it tastier. The most important thing though is to have a non stick pan or pot. Having one will reduce the amount of oil or any other fat you use thus will help you cut down calories and money!

So here is the recipe:

Ingredients (makes 8 fajitas)

2 chicken breasts about 900 grams
1/2 spoon of olive oil
Greek yogurt non fat (about 300 grams)
Dry spearmint leaves
8 tortillas (choose the ones with the fewer calories!)

How to:

1. Wash and cut the chicken in stripes. Remove any fat. The stripes should be about 2-3 cm width. Don't worry too much about that though.


2. In the non stick pan add the oil and move it around so it covers a big part of the bottom of the pan and bring to a boil. Once heated add the chicken stripes and cook them until they are golden brown on all sides. Don't cook them all at once. Few at a time so that you can check them and turn them easily.


3. Once you are done put them in a platter. If you want to add any onions or peppers this it the time to. Use the same pan and cook them until they are softened. I didn't use any because George isn't a fan of them but they won't add any significant amount of calories to the food.


4. Once you are done prepare the sour cream substitute: Mix the yogurt and the dry spearmint leaves. Rub the leaves between your fingers so they release their fragrance.


5. Take one tortilla and spread one spoon of the yogurt mixture. Place some chicken on one end of the tortilla and wrap it.


Enjoy!